
How to Set Up WhatsApp Business API: Complete Step-by-Step Guide
Ananya Desai
Head of AI Research
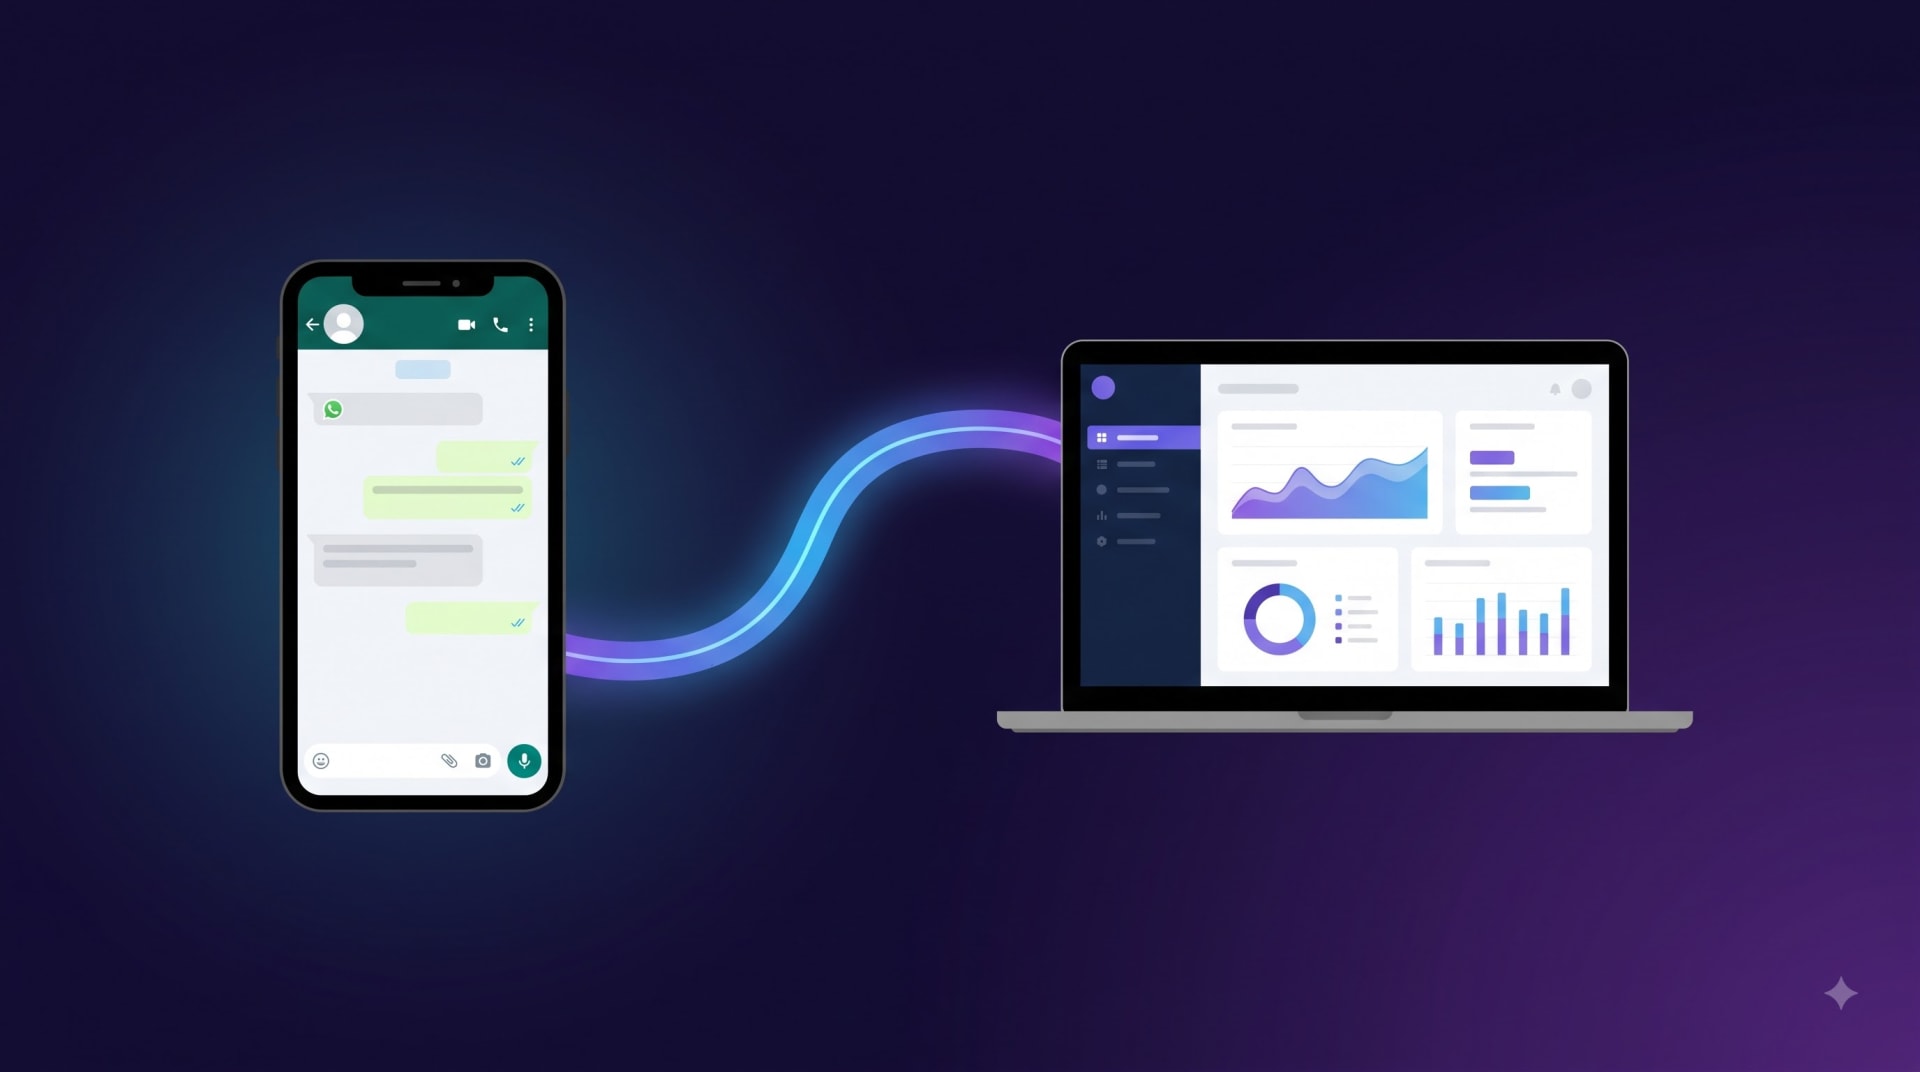
Setting up the WhatsApp Business API used to mean hiring a developer, navigating Meta's documentation, and spending days on configuration. Today, with the right Business Solution Provider (BSP), the entire process takes under 30 minutes — and you do not need to write a single line of code.
This guide walks you through every step, from creating a Meta Business Manager account to sending your first message through the API.
What You Need Before You Start
Before beginning the setup, make sure you have the following ready:
- A Facebook account (personal account is fine — you do not need a Facebook Page yet)
- A Meta Business Manager account (free to create at business.facebook.com)
- A phone number that is not currently registered on WhatsApp or the WhatsApp Business App
- Your business name exactly as you want it to appear to customers
- A business website or active Facebook Page
- A profile photo — your logo at 500x500px minimum
> Important: If the phone number you want to use is currently on the WhatsApp Business App, you will need to delete that account before migrating it to the API. Export your chat history first if you need to keep it.
Step 1: Create a Meta Business Manager Account
Go to business.facebook.com and sign in with your Facebook account.
If you do not have a Business Manager yet:
1. Click Create Account
2. Enter your business name, your name, and your business email address
3. Follow the verification prompts — Meta will send a confirmation email
4. Once verified, your Business Manager is active
If you already have a Business Manager, make sure it is the one linked to the Facebook Page or ad account your business uses. Meta uses this account to verify your business identity before approving WhatsApp access.
*[IMAGE: meta-business-manager-setup.webp]*
Step 2: Sign Up for ConvoHub
Go to app.convohub.io/app/auth/signup and create your account.
ConvoHub is a Meta-approved Business Solution Provider (BSP) — meaning it is an authorised platform that connects your business to the WhatsApp Cloud API and provides the inbox, automation, and tools your team uses every day.
Once your account is created, navigate to Settings > Channels > WhatsApp to begin the connection wizard.
Step 3: Connect Your Meta Business Manager to ConvoHub
Inside the WhatsApp setup wizard, click Connect with Facebook.
This opens Meta's Embedded Signup flow — a guided process where you:
1. Log in to your Facebook account
2. Select the Meta Business Manager account you created in Step 1
3. Grant ConvoHub permission to create and manage your WhatsApp Business Account (WABA)
The WABA is the container that holds your phone number, templates, and WhatsApp Business profile. ConvoHub creates it for you during this step — you do not need to set it up manually in Meta's systems.
> What permissions does ConvoHub need? ConvoHub requests access to manage your WABA, send messages on your behalf, and view messaging analytics. These are standard BSP permissions required by Meta for any WhatsApp API platform.
Step 4: Add and Verify Your Phone Number
After connecting your Business Manager, you will be prompted to add the phone number you want to use for WhatsApp Business.
Supported number types:
- Mobile numbers (any country)
- Landlines (verification via automated voice call)
- Virtual numbers (VoIP numbers, as long as they can receive calls or SMS)
Verification process:
1. Enter your number with the country code (e.g. +91 for India, +1 for the US)
2. Choose verification method — SMS or voice call
3. Enter the 6-digit code you receive
4. Your number is now linked to your WABA
*[IMAGE: whatsapp-phone-number-verification.webp]*
> If your number is currently on the WhatsApp Business App: Deleting the Business App account removes the number from the app so it can be registered with the API. This takes 0–3 days depending on Meta's processing time. Your number stays yours — only its WhatsApp registration changes.
Step 5: Set Up Your WhatsApp Business Profile
Once your number is verified, fill in your business profile. This is what customers see when they view your contact in WhatsApp.
Required fields:
- Business name — use your official trading name exactly
- Business category — select the closest match from Meta's list
- Description — 256 characters max; describe what your business does clearly
Recommended fields:
- Profile photo — your logo, square format, minimum 500x500px
- Website URL — your main domain
- Business address — for local businesses, adds credibility
Take this step seriously. A complete, professional profile increases the open rate on your template messages because customers see a real business name and photo, not just a number.
Step 6: Create and Submit Your First Message Template
Any message your business initiates outside a customer-started conversation requires a pre-approved template. Templates are reviewed by Meta before you can send them.
To create your first template in ConvoHub:
1. Go to Settings > Message Templates > New Template
2. Choose a category: Marketing, Utility, or Authentication
3. Enter your template name (lowercase, underscores only — e.g. `order_confirmation`)
4. Write your message body — use `{{1}}`, `{{2}}` etc. for dynamic variables
5. Add a header (optional) — text, image, document, or video
6. Add buttons (optional) — call to action or quick reply
7. Submit for Meta review
Approval time: Most templates are approved within a few minutes. Complex templates with media headers or buttons can take up to a few hours.
Start with these three templates:
- A welcome message for new leads who contact you
- An opt-in confirmation for customers joining your broadcast list
- Your most common outbound notification (order update, appointment reminder, or follow-up)
> Template tip: Write naturally. Meta rejects templates that read like spam — avoid excessive capitalisation, misleading urgency, or vague content. Templates that could be misused as unsolicited marketing are frequently rejected.
Step 7: Invite Your Team and Go Live
The final step — add your agents to ConvoHub and assign them to the right inbox.
1. Go to Settings > Agents > Invite Agent
2. Enter their email address and assign a role (Agent or Administrator)
3. They receive an invitation email to set up their account
4. Assign them to your WhatsApp inbox so they start receiving conversations
Once at least one agent is active and your first template is approved, you are live on the WhatsApp Business API.
*[IMAGE: convohub-whatsapp-shared-inbox.webp]*
Understanding WhatsApp API Messaging Limits
New accounts start at Tier 1: 1,000 unique business-initiated conversations per rolling 24 hours. This limit applies to template messages you send outbound — inbound messages from customers have no limit.
Tiers increase automatically as your account quality improves:
| Tier | Daily Limit |
|---|---|
| Tier 1 | 1,000 conversations |
| Tier 2 | 10,000 conversations |
| Tier 3 | 100,000 conversations |
| Tier 4 | Unlimited |
How to move up tiers faster:
- Maintain a high template quality rating (low block and complaint rates)
- Ensure customers respond to your messages (indicates value, not spam)
- Avoid sending templates to contacts who have not opted in
Most active accounts reach Tier 2 within 30–60 days.
How Much Does the WhatsApp Business API Cost?
There are two cost components:
1. Meta's per-conversation fee
Meta charges per 24-hour conversation window, not per message. Rates vary by category and country:
- Marketing — highest rate (promotions, broadcasts, retargeting)
- Utility — mid rate (order updates, reminders, confirmations)
- Authentication — lowest rate (OTPs, verifications)
Service conversations initiated by customers are free within the 24-hour window.
Use the WhatsApp Business API Pricing Calculator to estimate your exact monthly costs before scaling.
2. BSP platform fee
ConvoHub charges per agent per month — no per-message markup on Meta's rates. You pay exactly what Meta charges for conversations, plus a flat platform fee based on your plan.
See ConvoHub Pricing for current plans.
Common Setup Mistakes to Avoid
Using a number already on WhatsApp
The most common issue. Your number must be fully deregistered from the WhatsApp consumer app or Business App before it can be used with the API. Allow 0–3 days after deleting the Business App account.
Inconsistent business name
The name on your WABA must match your Meta Business Manager profile exactly. Mismatches cause verification failures and can delay green tick eligibility later.
Skipping the opt-in process
You must have explicit opt-in consent from contacts before sending them template messages. Sending to contacts who have not opted in triggers high complaint rates, which damages your template quality ratings and can get your account restricted.
Writing templates like ads
Overly promotional language, urgency tactics, and vague CTAs are common rejection reasons. Write templates as if you are sending a transactional notification — clear, specific, and useful.
Not setting up routing rules before going live
Without automation rules, all inbound conversations land in a single unassigned queue. The first day of live traffic is chaotic without at least basic routing in place.
What to Do After Going Live
Day 1: Send a test broadcast to a small opted-in segment (10–50 contacts). Check delivery rates, read rates, and reply rates. Identify any template issues before scaling.
Week 1: Monitor your template quality ratings in Meta Business Manager > WhatsApp Manager > Message Templates. A green rating means you are in good standing.
Week 2–4: Build out your automation — ConvoAI knowledge base, additional routing rules, and macros for your most common agent actions.
Month 1: Review your messaging tier. If you are still on Tier 1, check your opt-out and complaint rates. High-quality, opted-in lists naturally progress through tiers faster.
Related Resources
- WhatsApp Business API — Complete Guide — full reference on what the API is, how it works, and every capability available
- WhatsApp Business API Pricing Calculator — estimate your per-country, per-category messaging costs
- Free WhatsApp Link Generator — create wa.me links to drive inbound messages and open free 24-hour service windows
- Free WhatsApp QR Code Generator — generate scannable QR codes for physical locations, packaging, or ads
Frequently Asked Questions
Related Articles
WhatsApp vs Email vs SMS for Business: Which Channel Wins?
WhatsApp, email, and SMS compared for business messaging — open rates, response times, costs, and when to use each. Data-backed guide for 2026.
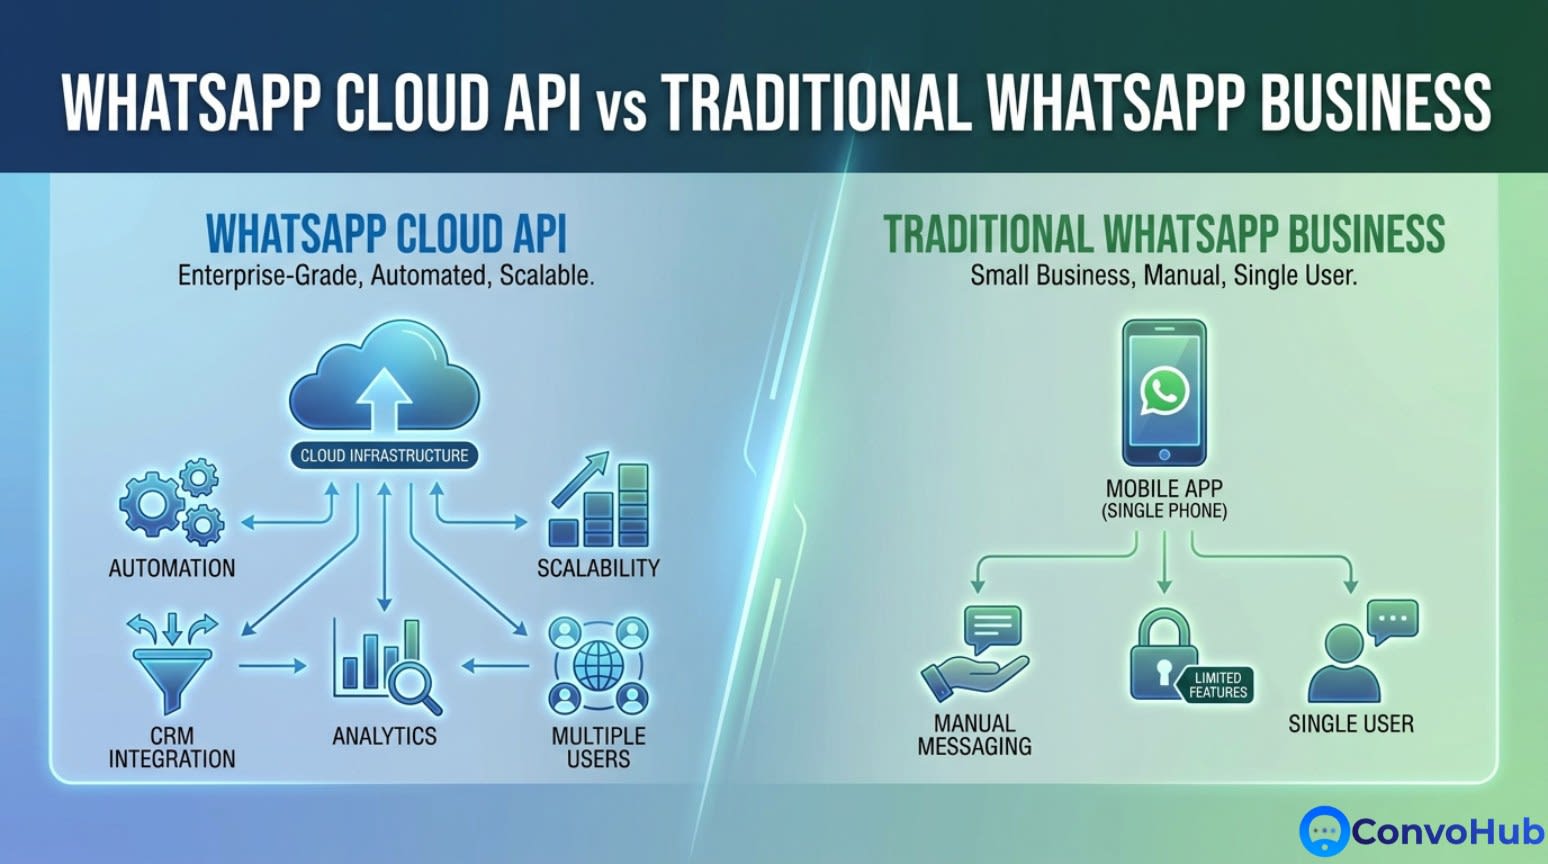
WhatsApp Cloud API vs Traditional WhatsApp Business: What's the Difference?
Confused about WhatsApp Business options? This comprehensive comparison breaks down the key differences, features, and which solution is right for your business.

The Future of WhatsApp Business Automation
Discover how AI-powered automation is transforming WhatsApp business communication and what to expect in the coming years.